Because your costume deserves the spotlight.
A great photo is often the difference between a listing that sells… and one that sits. When it comes to online marketplaces, your photos are your storefront. They’re how buyers connect with the colour, detail, and character of your item — and feel confident enough to click add to cart.
Whether you’re listing one costume or an entire collection, here’s how to take great photos that make your items shine.
1. Light is Everything
Natural light is your best friend.
Set up your costume near a window or shoot outside on a bright but overcast day for soft, even lighting. Avoid harsh direct sun, which can cast shadows or blow out details.
Bonus tip: Use a white foam board or wall to reflect light and brighten darker areas.
2. Keep the Background Simple
Your costume should be the star.
Photograph it against a plain wall, curtain, or hanging sheet. A neutral background (white, grey, light wood) helps the item pop and avoids distractions.
If your costume is detailed or brightly coloured, a clean backdrop helps keep the focus where it belongs.
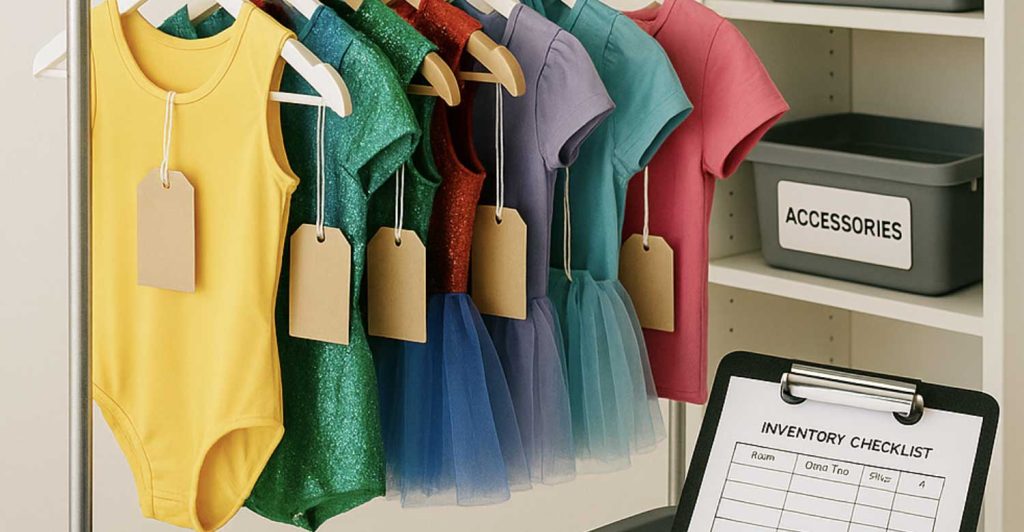
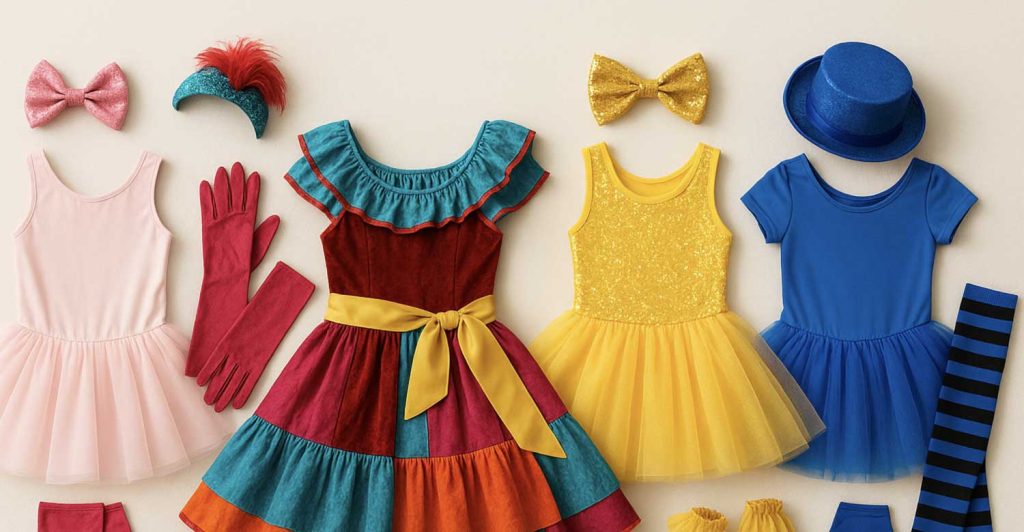
3. Style It With Intention
Display your costume in a way that shows its full shape and personality:
-
Use a hanger, mannequin, or dress form if possible.
-
Lay flat on a clean surface if that’s what you have – smooth it out neatly.
-
Include accessories in the frame (e.g. hat, sash, wristbands) so buyers understand what’s included.
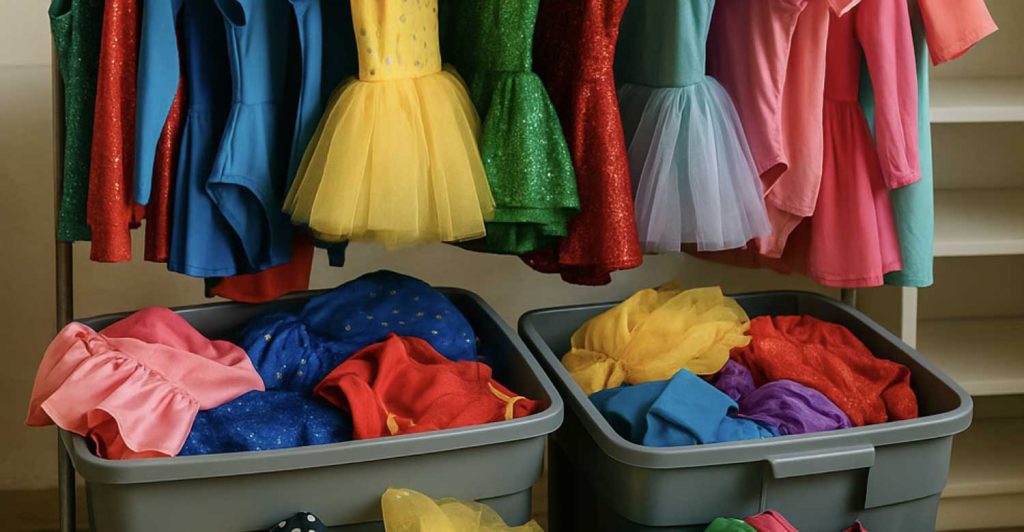
If it’s a collection or set, take one main photo showing the group, and additional photos of each piece individually.
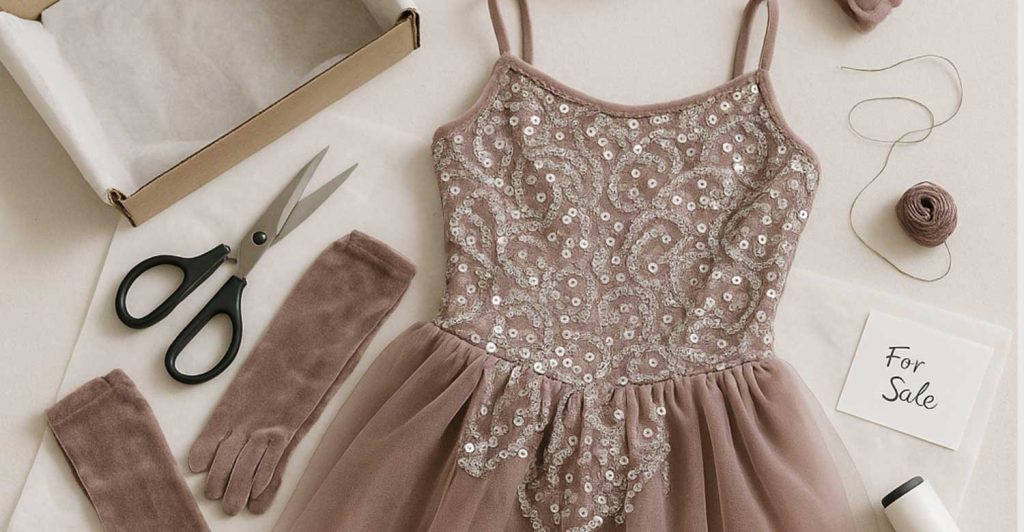
4. Capture the Details
Don’t just snap one photo — give buyers a full view. Aim for:
-
A front view
-
A back view
-
Close-ups of details (beading, embroidery, logos, embellishments)
-
Close-ups of any wear or damage so buyers know what to expect
This builds trust and reduces back-and-forth questions.
5. Show Scale or Sizing
If a costume includes multiple pieces or has an unusual size, help buyers visualise it:
-
Include a ruler, hand, or coin for scale in close-up shots
-
Mention the size in your caption, and tag the correct size in your listing filters
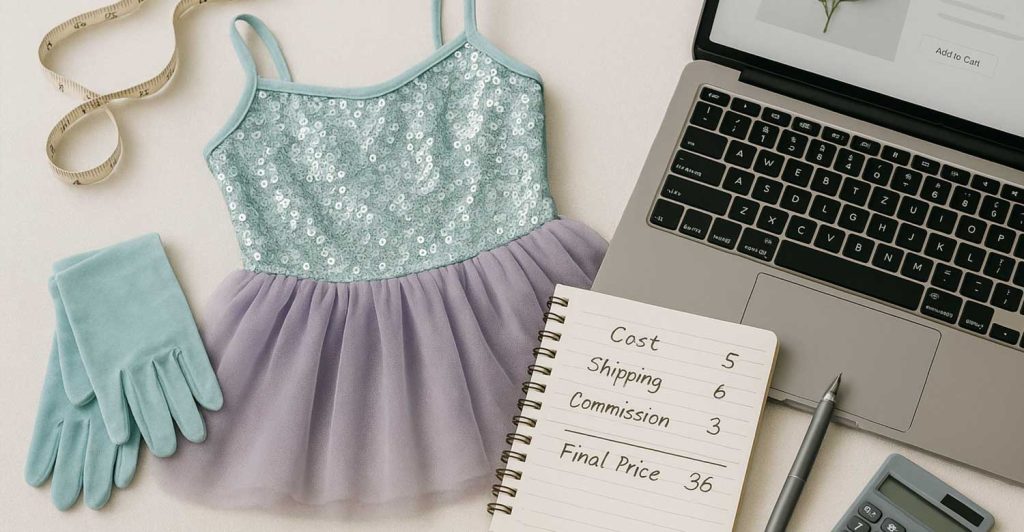
6. Edit Lightly — But Honestly
It’s okay to crop, straighten, or brighten your images slightly, but avoid heavy filters. You want your photos to be true to life, so buyers aren’t disappointed when the item arrives.
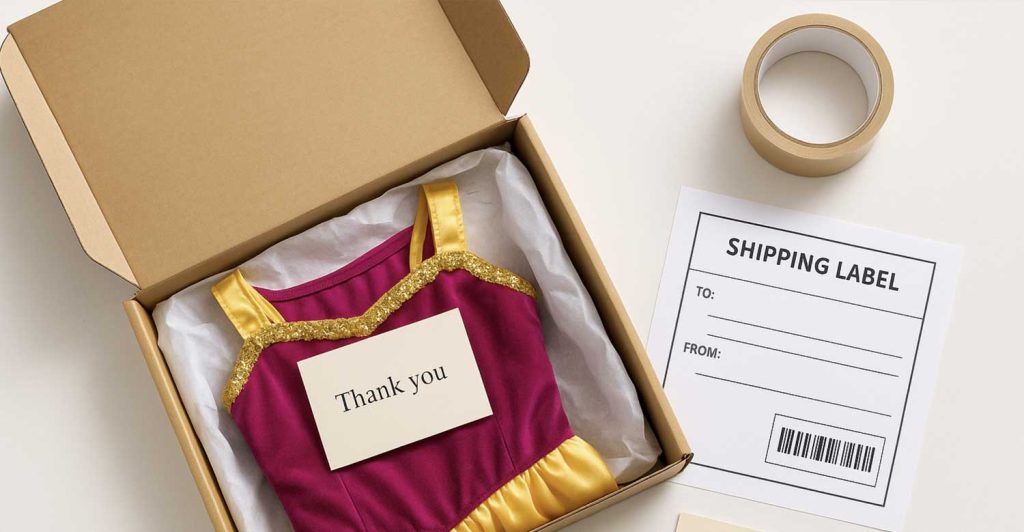
7. Use a Gallery to Tell the Story
Each listing allows multiple photos, so use them!
Lead with your strongest photo (front, styled, well-lit), then build out a visual gallery with:
-
Full outfit views
-
Accessories
-
Tag/brand labels
-
Packaging (if included)
Bonus: Once Your Listing is Live…
-
Preview it — check that your images look great on both desktop and mobile.
-
Share it on socials — and tag @TheCostumeVault so we can re-share it too!
Final Thought:
You don’t need professional gear. A phone camera, a tidy space, and good light are all you need to make your listing stand out. Taking a little extra time to photograph your costume well is one of the best ways to increase your chances of a quick sale.